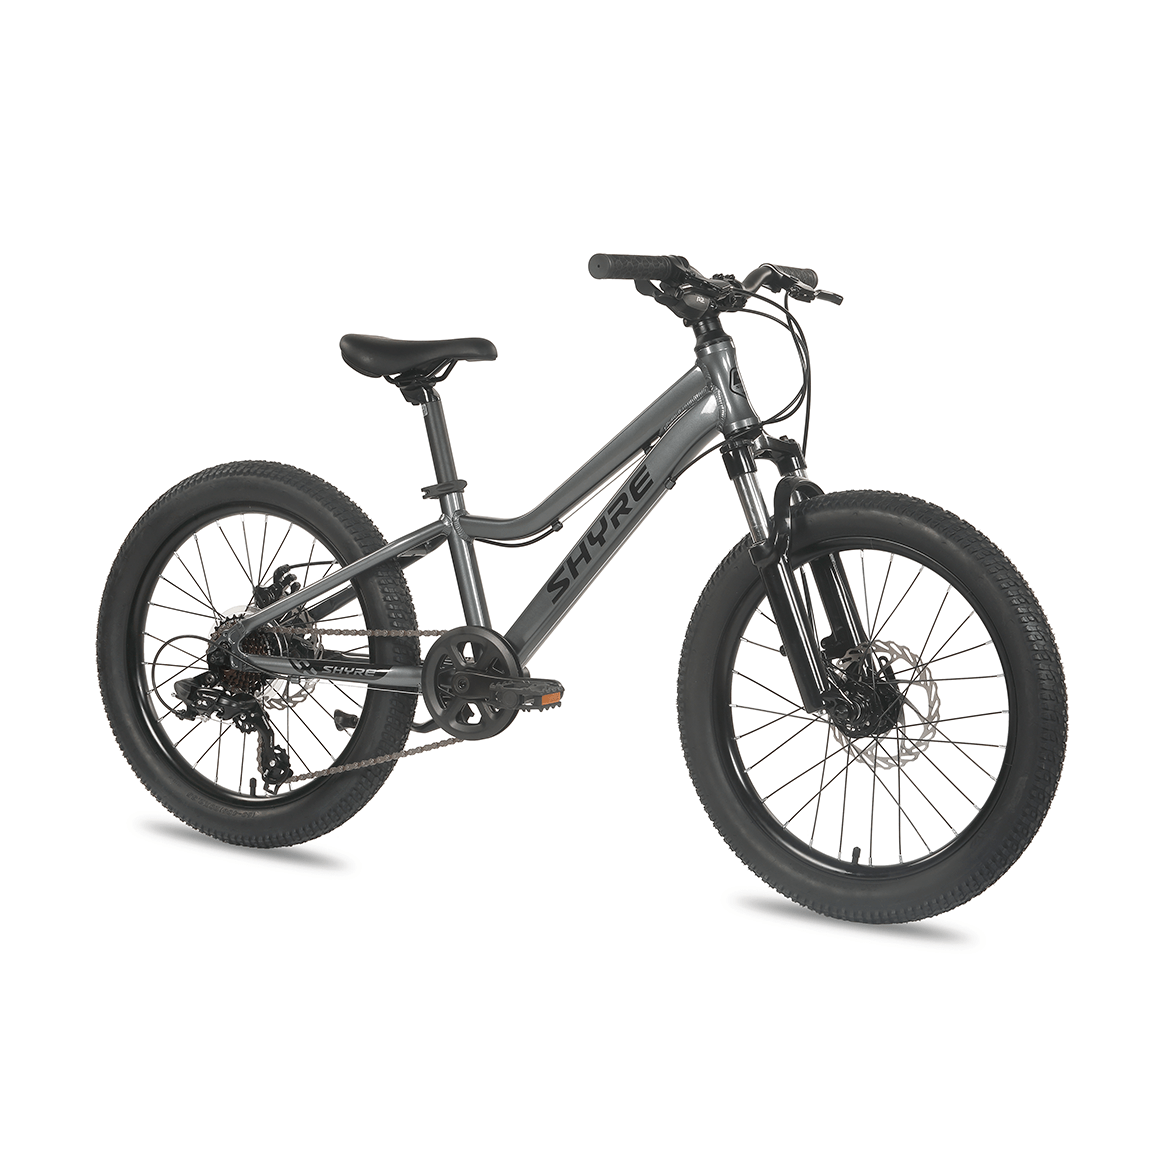
How to Build Your Eastie Bike
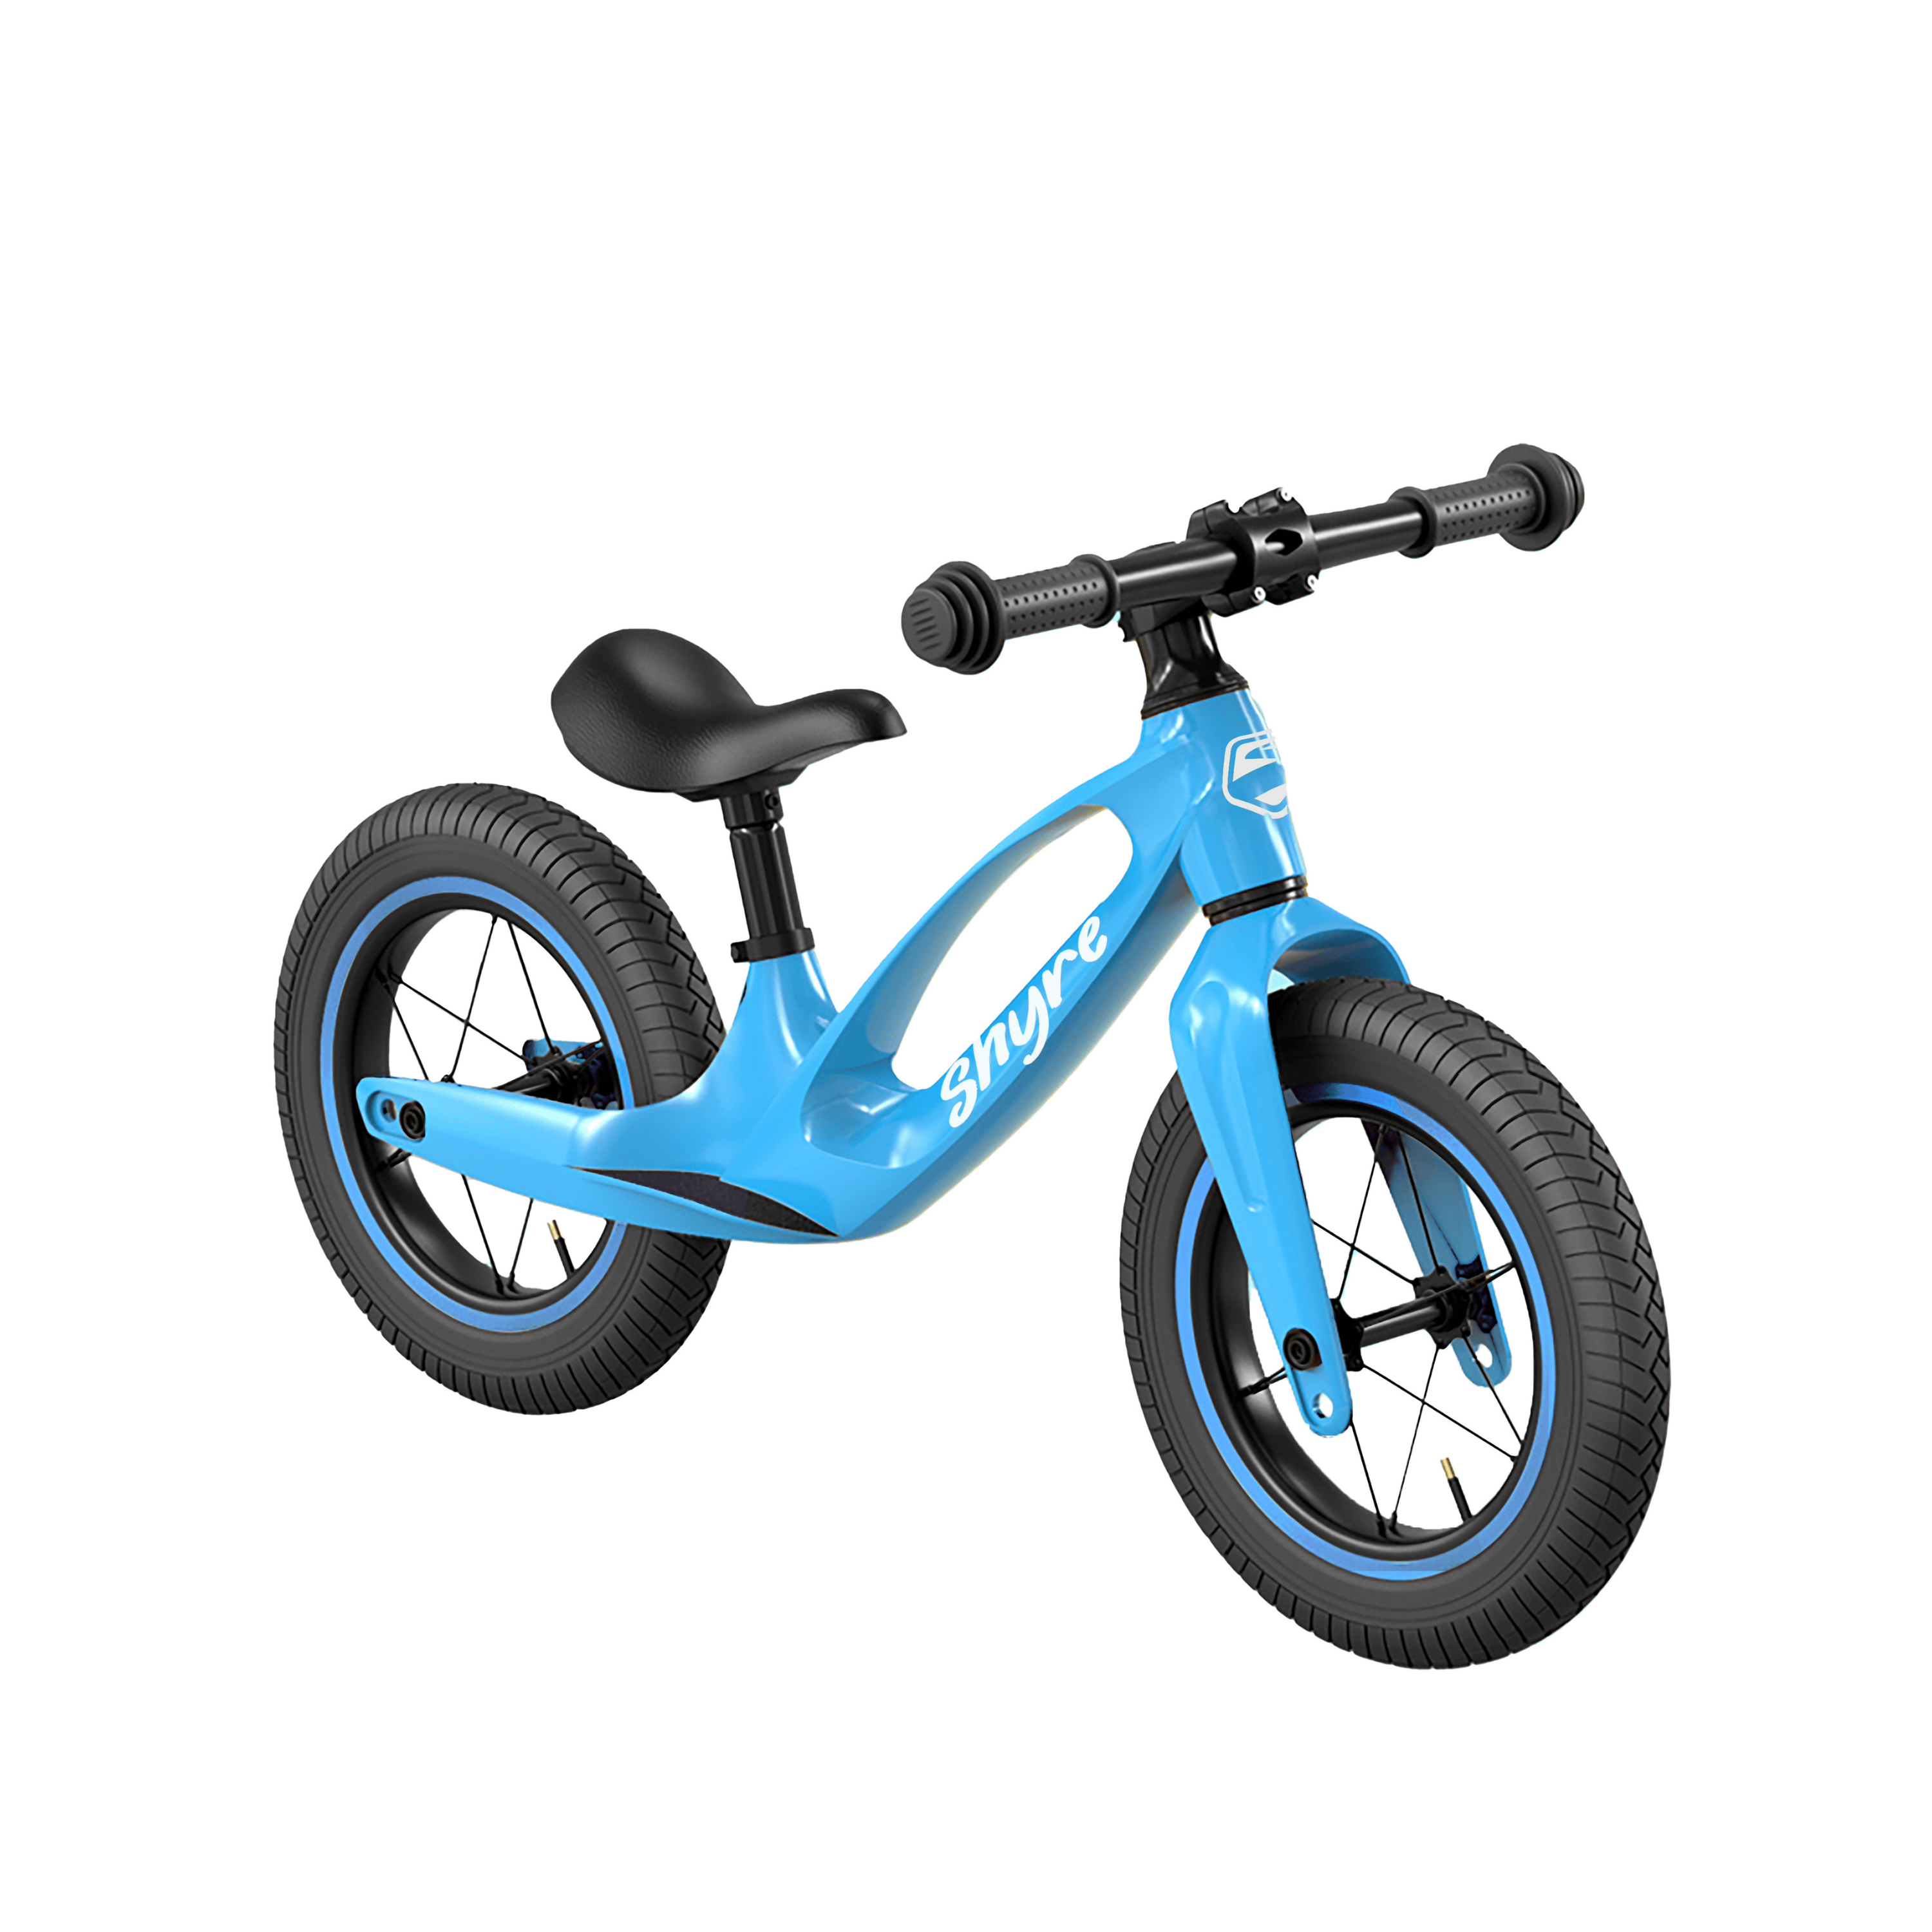
Your Shyre Eastie arrives mostly assembled - here’s how to get it trail-ready in just a few simple steps.
What You’ll Need
Important Assembly & Safety Disclaimer
The information provided on this page is intended as a general guide only and does not replace professional bicycle assembly or inspection.
Bicycle assembly requires correct installation, alignment, and tightening of components to appropriate torque settings. Incorrect assembly may result in component failure, damage to the bicycle, or personal injury.
Pedals are threaded differently and must be fitted to the correct side (left and right are determined from the rider’s seated position). Brakes, gears, steering, and all fixings must be fully checked and adjusted before use.
Shyre Bikes accepts no liability for damage, injury, or loss resulting from incorrect or incomplete assembly. If you are unsure at any stage, or for full assurance of safety, the bicycle should be assembled and/or checked by a qualified bicycle mechanic prior to riding.
Step-by-Step Assembly Guide
Need a Hand? We’re Here to Help
If you’re unsure about any part of the build or just want a quick check before your child’s first ride, our team is happy to help.